

Is there anything more frustrating than waking up in the morning, craving a fresh cup of coffee, only to find that your beloved coffee maker refuses to cooperate? We’ve all been there – desperately pressing buttons and tinkering with settings, wondering why our once faithful machine suddenly abandoned us. But fear not! In this blog post, we’ll walk you through simple troubleshooting steps to help you fix a coffee maker that won’t brew. So grab your tool belt (or maybe just a sponge), and let’s start bringing your caffeine dreams back to life!
Check The Coffee Maker’s, Water Filter
When your coffee maker refuses to brew that perfect cup of Joe, one possible culprit could be a clogged water filter. The water filter plays an essential role in ensuring the quality and taste of your coffee by removing impurities from the water. Over time, it can become dirty or blocked, hindering the brewing process.
To check if your coffee maker’s water filter is causing the problem, locate it. Depending on the model, it may be located inside the reservoir or attached to the back or bottom of the machine. Once you find it, remove and inspect it for any buildup or debris.
If you notice any dirt or grime on the filter, give it a thorough clean using warm soapy water. Use a soft brush or toothbrush to scrub away any stubborn residue. Rinse thoroughly and allow it to dry completely before reinserting into the machine.
Sometimes, you may need to replace the water filter if cleaning doesn’t resolve the issue. Consult your coffee maker’s manual or contact customer support for guidance on purchasing and returning a new filter.
Regularly checking and maintaining your coffee maker’s water filter ensures that your brews are consistently delicious and free from unwanted impurities.
Clean The Coffee Maker’s Interior If You Want to fix a coffee maker

When your coffee maker isn’t brewing correctly, one of the potential culprits could be a dirty interior. Over time, mineral deposits and oils from coffee can build up inside the machine, affecting its performance. Fortunately, cleaning the coffee maker’s interior is a relatively simple task that can help get it back to brewing delicious cups of Joe.
Once you’ve taken care of the removable parts, mix equal vinegar and water in a container or use a descaling solution specifically designed for coffee makers. Pour this mixture into the water reservoir of your machine.
Turn on your coffee maker and let it run through one cycle without adding ground or filters. It will help to flush out any built-up residue inside the machine.
After this initial cycle, empty the vinegar-water mixture from the carafe and rinse it thoroughly with clean water. Fill the reservoir again with fresh water and run another process to remove all traces of vinegar from inside and outside surfaces.
Wipe down any exterior surfaces with a damp cloth before reassembling all parts of your coffee maker.
By regularly cleaning your coffee maker’s interior in this manner every few months (or more frequently if you use hard water), you’ll keep it running smoothly for years to come!
Descale The Coffee Maker If You Want to Fix a Coffee Maker
Descaling your coffee maker is essential in fixing a machine that won’t brew. Over time, mineral deposits from the water can build up and clog the internal components of the coffee maker, preventing it from functioning correctly. You’ll need a descaling solution specifically designed for coffee makers to descale your coffee maker.
First, start by emptying any remaining water from the reservoir and removing any leftover coffee grounds or filters. Mix the descaling solution with water according to the instructions on the package.
Next, pour this mixture into the water reservoir and place an empty carafe under the brew basket. Turn on your coffee maker and allow it to run through a complete brewing cycle.
It will help remove any built-up residue inside.
Once this cycle is complete, discard the used descaling solution and thoroughly rinse the water reservoir and carafe with clean water. Fill the pool again with fresh water and run another brewing cycle without any coffee or filters to remove all traces of the descaling solution.
Remember to follow these steps periodically as part of regular maintenance for your coffee maker to prevent future issues related to mineral buildup. By taking care of your machine this way, you can enjoy delicious brewed coffee for years!
Check The Coffee Maker’s Electrical Connection
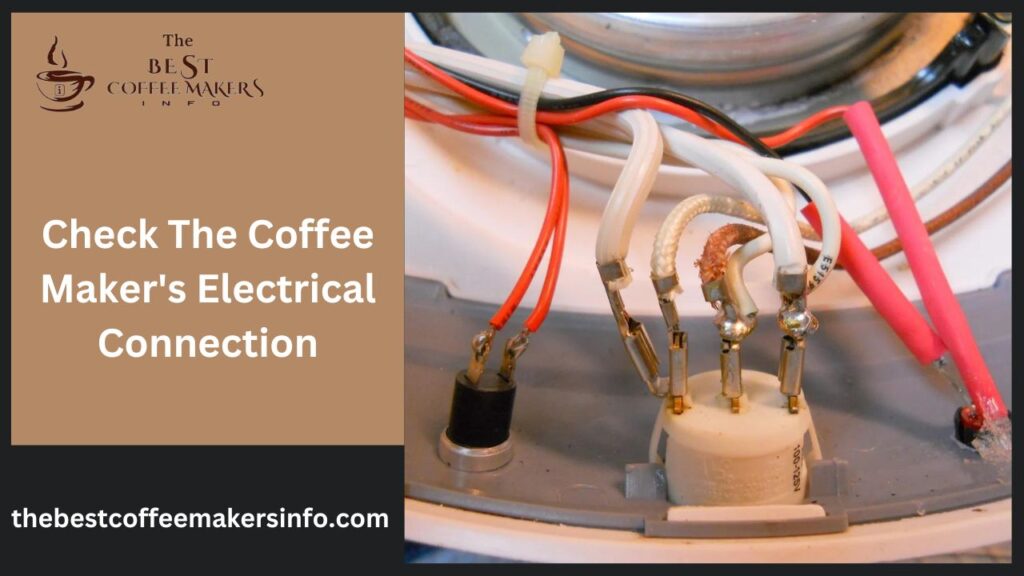
One of the common reasons why a coffee maker may fail to brew is due to issues with its electrical connection. Before you start panicking and thinking about replacing your beloved coffee maker, take a moment to check this simple yet crucial aspect.
First, ensure the coffee maker is correctly plugged into a functioning power outlet. It may seem obvious, but sometimes we overlook the most straightforward solutions! If it’s already plugged in, try unplugging and replugging it to ensure there isn’t any loose connection.
Next, examine the power cord for any visible damage or frayed wires. If you notice any signs of wear and tear, it’s time to replace the line. Using a faulty cord can prevent your machine from brewing and pose safety risks.
If everything seems fine so far, inspect the control panel and buttons. Please ensure they are clean and free from debris or sticky residue that could interfere with their functionality. Wipe them down gently with a damp cloth if necessary.
Consider checking if any blown fuses or tripped circuit breakers in your home could affect the coffee maker’s ability to brew. Resetting these can sometimes solve the issue at hand.
By carefully evaluating these electrical connections, you may be sipping on a freshly brewed cup of Joe sooner than expected!
FAQ’s
1. How do I troubleshoot a coffee maker that won’t turn on?
If your coffee maker isn’t turning on, start by checking if it’s properly plugged into a working power outlet. Ensure the power cord is not damaged. Check if there’s a power switch or button that needs to be turned on. If everything seems fine, there might be an issue with the internal wiring or components, and it’s best to consult a professional technician for repair.
2. Why is my coffee maker leaking water?
A common reason for water leakage in a coffee maker is a faulty or misaligned water reservoir or tank. Check if the reservoir is properly seated and if there are any cracks or damages. Additionally, inspect the brew basket and carafe for any misalignments or cracks that could cause leaks. If the issue persists, it could indicate a problem with the internal seals, which may require replacement or repair.
3. How can I fix a coffee maker that produces weak coffee?
Weak coffee can result from various factors, including using too few coffee grounds, using a coarse grind size, or not allowing enough time for brewing. Ensure you’re using the correct coffee-to-water ratio and grind size recommended for your coffee maker. Also, consider cleaning the coffee maker regularly, as buildup or residue can affect the brewing process. If the issue persists, descale the machine to remove mineral deposits that could be affecting the brewing efficiency.
4. What should I do if my coffee maker is making strange noises?
Unusual noises from a coffee maker could indicate several issues, such as mineral buildup, loose internal components, or a malfunctioning pump. Start by descaling the coffee maker to eliminate any mineral deposits that may be causing blockages or irregularities. Check for loose parts or screws and tighten them if necessary. If the noises persist, it’s advisable to seek professional assistance to diagnose and repair the problem.
5. How do I clean and maintain my coffee maker?
Regular cleaning and maintenance are essential for prolonging the lifespan and ensuring optimal performance of your coffee maker. After each use, remove and wash removable parts like the brew basket, carafe, and water reservoir with warm, soapy water. Wipe down the exterior of the machine with a damp cloth. Periodically, descale the coffee maker using a descaling solution or a mixture of vinegar and water to remove mineral buildup. Refer to the manufacturer’s instructions for specific cleaning and maintenance guidelines tailored to your coffee maker model.
Conclusion
Fixing a coffee maker that won’t brew can be frustrating, but with the proper troubleshooting steps, you can get your beloved appliance back in working order. Check the water filter and clean the interior regularly to ensure optimal performance. Descaling is also crucial to remove mineral deposits obstructing water flow.
If none of these solutions work, examining the electrical connection and ensuring everything is connected correctly is essential. Sometimes a simple reset or replacement of faulty parts can solve the issue.
By following these tips and being proactive about maintenance, you can extend the lifespan of your coffee maker and enjoy delicious cups of brewed coffee for years to come. So don’t let a malfunctioning machine ruin your morning routine – tackle the problem head-on!
Remember, when attempting any repairs or maintenance on electrical appliances, always refer to the manufacturer’s instructions or seek professional assistance.

